

How to Brighten Up Your Room With Wall Decals
Beyond having a fine coat of glossy or emulsion paint on your wall, there are more appealing ways of brightening up the walls of your home.
One of them is the application of wall decals.
In this post, I’ll be showing you how to brighten up your room with wall decals in 4 easy steps.
I will also show you how to apply your favorite wall decals yourself with the right set of tools.
So, let’s get to it.
Step 1 — First, check for the type of wall in your room
While wall decals are great at brightening up rooms, not all walls are perfect for their application.
There are some wall finishing that frustrates the idea of applying wall decals to them.
So, before thinking about your perfect wall decal type or theme, ask yourself, “Are the walls in my room any of the following?”
1. Rough-surfaced wall
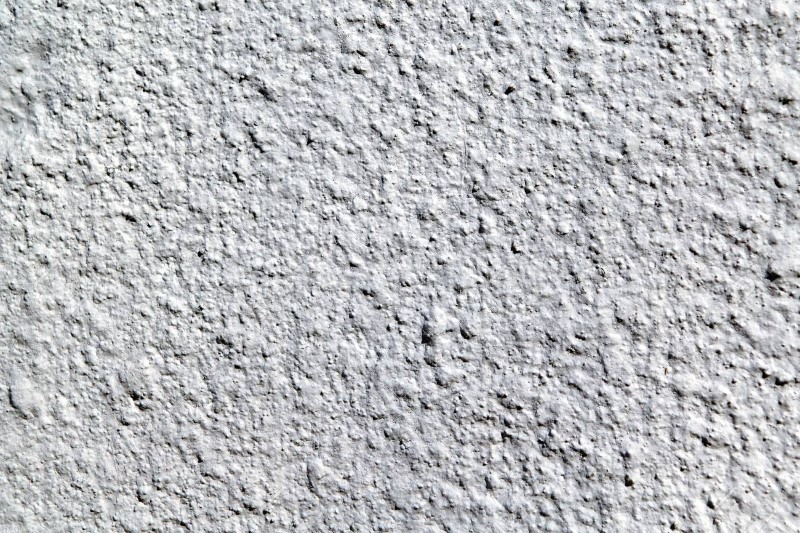
A rough-surfaced wall, as the name implies, is a wall whose surface isn’t smooth.
Most times, the roughness of a wall could be due to the type of paint used. Textcoat paints are usually culprits for the roughness of a wall.
Now we have identified one reason why the walls of your home or room where you intend to apply your wall decal could be rough.
But unfortunately, once a wall is rough, don’t expect to use a decal on it.
The reason why you shouldn’t is that a decal needs to be able to stay attached to a wall; but because the surfaces of rough walls are full of grooves, the decal will make only limited contact with the surfaces of the walls.
And the consequence of this is that your wall decal will fall off once air finds its way to the adhesive at the base or backsheet of the wall decal while installed on a rough wall.
READ: WALLPAPERS VS. REPAINTING -WHICH IS BEST?
2. Moist or wet wall
Another type of wall that won’t take a decal is a wall that’s moist or wet. A moist or wet wall weakens the adhesive used to hold the wall decals,
Even if the decal sticks at first, it’s only a matter of time before it comes off.
To solve this, investigate the reason for the dampness of your wall, it could be water or plumbing leakage somewhere within the building.
You can also seek the help of a professional plumber if the dampness persists.
3. Warm or hot wall
Temperatures above the recommended room temperature of 20-22°Celcuis or 68-72°Farenhiet are capable of weakening the adhesive used to attach wall decals to walls over time.
So, if your wall witnesses undue rise or fall in temperatures, you may need to reapply your wall decals frequently as they may start showing signs or peeling from the edges.
Having reviewed the state of your walls and it doesn’t have any of the above-mentioned issues, then we can proceed to next phase of wall decal placement.
Step 2 — Now figure out the ideal places to install wall decals
This step is very important and I’ll recommend taking your time.
Making a mistake in deciding the appropriate place for installing your wall decal may defeat the whole essence of improving your room’s appearance and brightening it up.
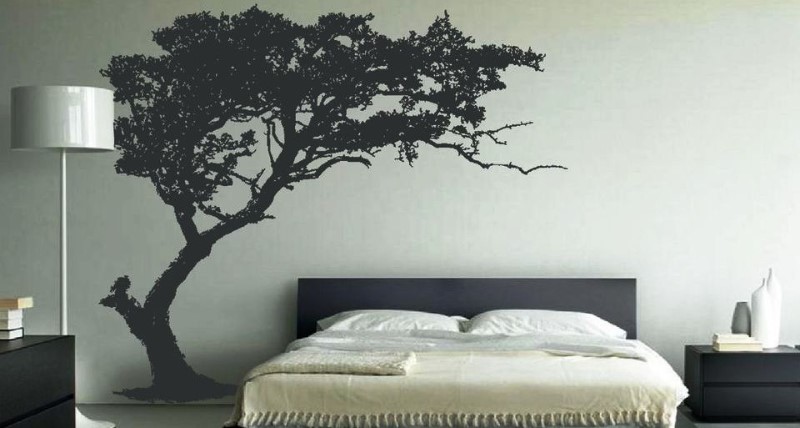
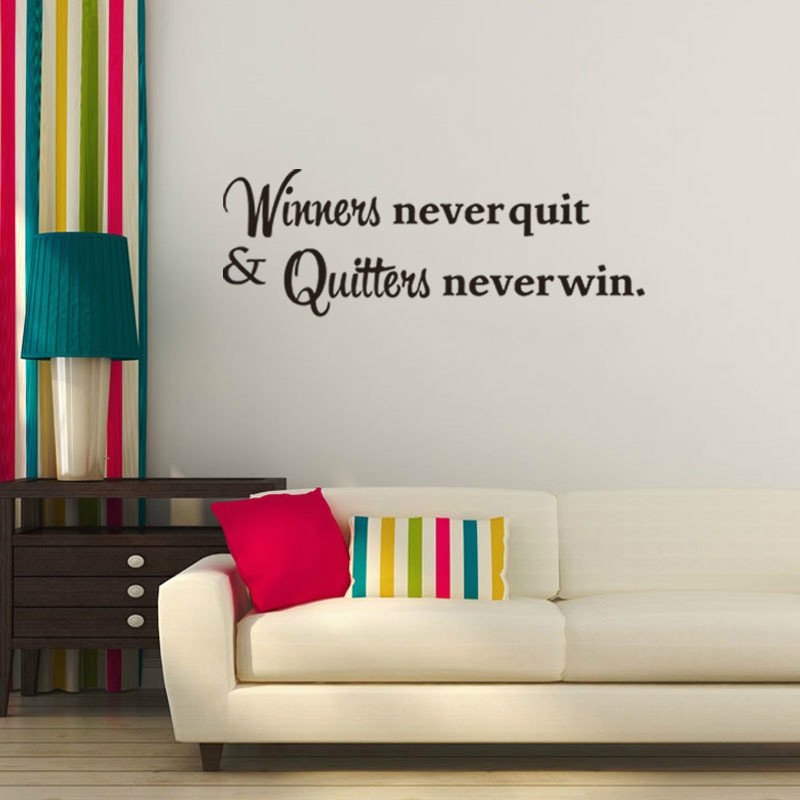
Generally, I do recommend installing wall decals at the center of each of the four walls of a room or as many walls your room has.
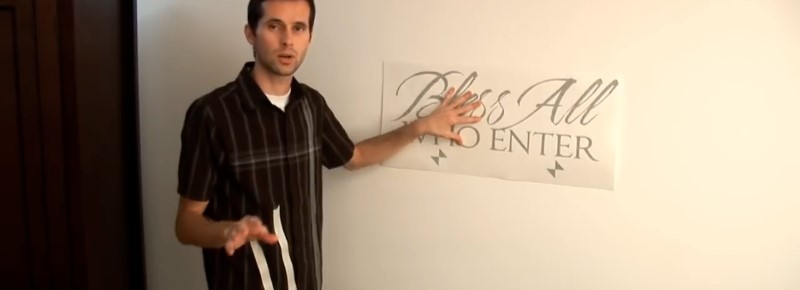
If money is not an issue, you may consider covering your whole wall in decals, just like in the picture below.
Also, note that wall decals are relatively inexpensive being one of the cheapest forms of wall finishing there is.
READ: 5 TIPS TO DECORATE YOUR BEDROOM WALL ON A LOW BUDGET
Step 3 — Go out to get some great decals
At this point, the next thing to do is to go get some wall decals.
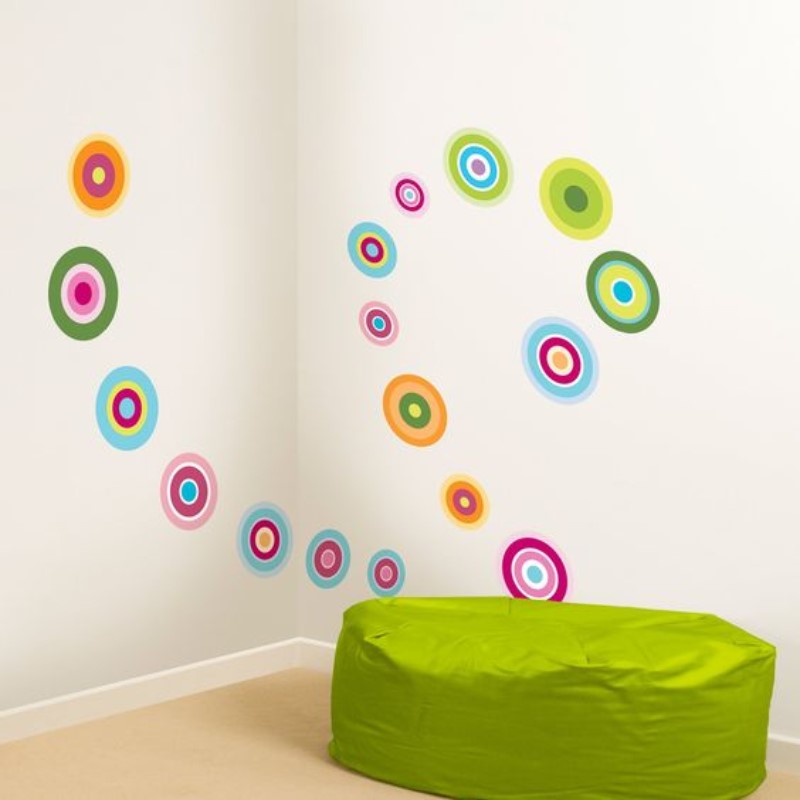
When getting the decals, you’d want to buy all decals that come in colors that match your room theme or color.
Your choice of wall decal should differ from room to room.
Now, there are simple rules to follow that would guide you in making a choice.
- What color (s) your room is painted in, and
- What are the colors of the furniture in it, do you have a rug in it, sofa, throw-pillows, desk lamps, picture frames, book shelve, what’s the color?
- Try to see if the color of the decals will fit well in the room. If you feel a color won’t fit, pick two other similar wall decals and compare.
- You may take a picture of your room on your mobile phone and go with it to the store, the store attendant who is experienced in color matching should help you out in your choice.
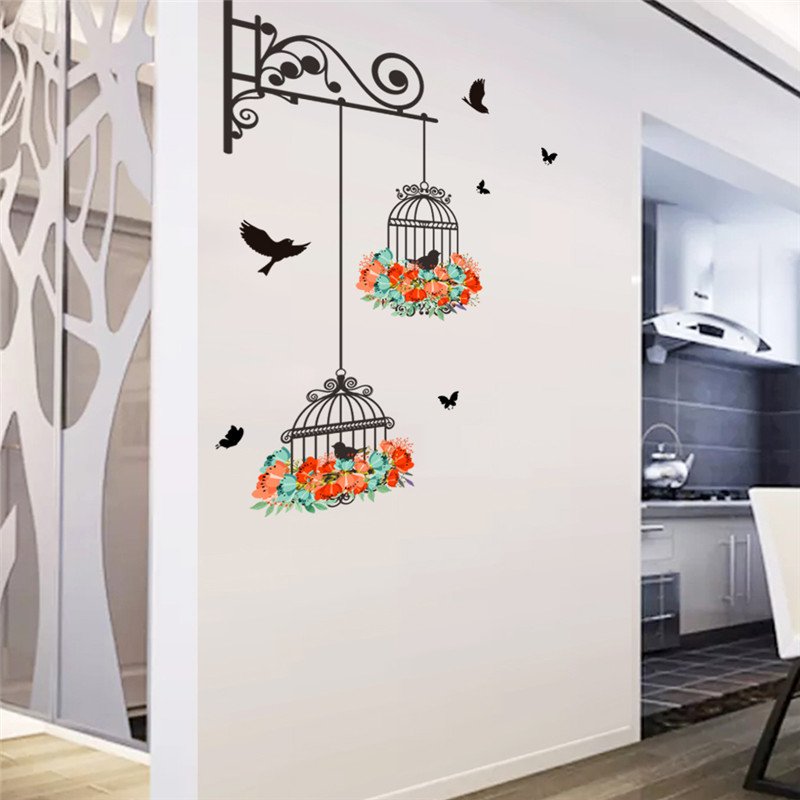
Also, when choosing wall decals and depending on the type of room you want to apply it, choose those that are interesting in terms of their overall design.
For example, inspiring, and educative wall decals are just perfect for the living room or office.
Remember that, the point of using a decal is to brighten up your room; so if you find a wall decal somewhat boring, you should look for other options.
However, this depends on your preference and what you want. Some people prefer very mild patterns or prints and that’s fine.
You can get brilliant wall decals from a physical store or an online retailer and get them shipped to you.
But first, get your wall dimensions (Height x Width).
Step 4 — Get ready for the application of your wall decal
Once you take delivery of your wall decal if you purchased online or you physically take them off the shelve if you purchased from a brick and mortar store.
But before talking about how to apply a decal on a wall, I’ll like to quickly take you through the basics of wall decal application.
That is the application of a “wall decal sheet” so that understanding how to apply it can be easier.
The word “wall decal sheet” refers to the whole decal sheet you bought, while the word “wall decal” refers to just the actual artwork you’ll like to put on your wall.

The Anatomy of a Wall Decal sheet
A wall decal sheet is usually made up of 3 layers of items —
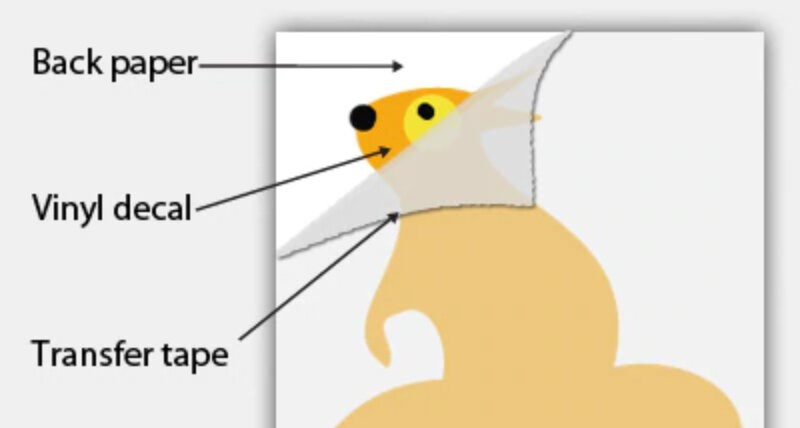
1) The transfer paper [which is the top layer],
2) The actual wall decal [the middle layer], and
3) The backing paper [the bottom layer].
Talking about how these layers are put together, a mild adhesive is put at the bottom of the transfer paper.
Afterward, the actual wall decal is then stuck to the transfer paper.
Following that, a stronger adhesive is applied to the bottom of the actual decal.
Afterward, the remaining exposed area of the transfer paper and the bottom of the actual is then covered with a backing paper.
So, to apply the actual wall decal on a wall, you’ll have to remove the “backing paper”, then plaster the revealed adhesive side on the wall.
And after plastering the revealed adhesive side on the wall, you’ll take the next step— try to peel off the “transfer paper” from the wall, now leaving just the actual decal on the wall.
Now that I’ve taken you through the basics of wall decal sheets, it’s time to move on to “a step-by-step process about how to apply one”.
READ: BEST WALLPAPERS AND WALL COVERINGS FOR HOME DECORATION.
How to put a wall decal on a wall
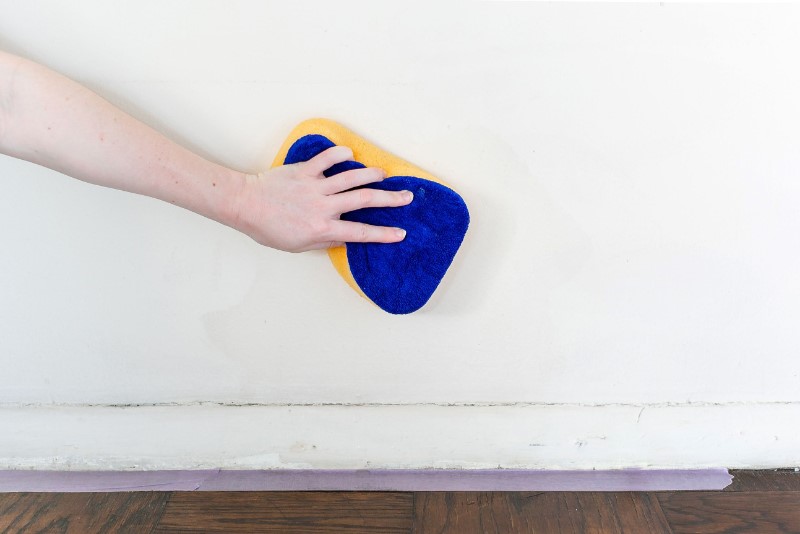
Step 1: Prepare the wall
The first step required in applying a decal on a wall is to prepare the wall.
There are usually particles and cracks on walls that may prevent a clean application and may prevent wall decals from staying on them for long.
Before applying your decal, please make sure the wall is free of roughness or particles that could interfere with the application.
And to do this, simply use a damp cloth to clean the surface of the wall and scrap out any crack or mold until the wall is fine and smooth.
If after doing this, the wall is noticeably wet, give the wall some minutes to dry up, before continuing.
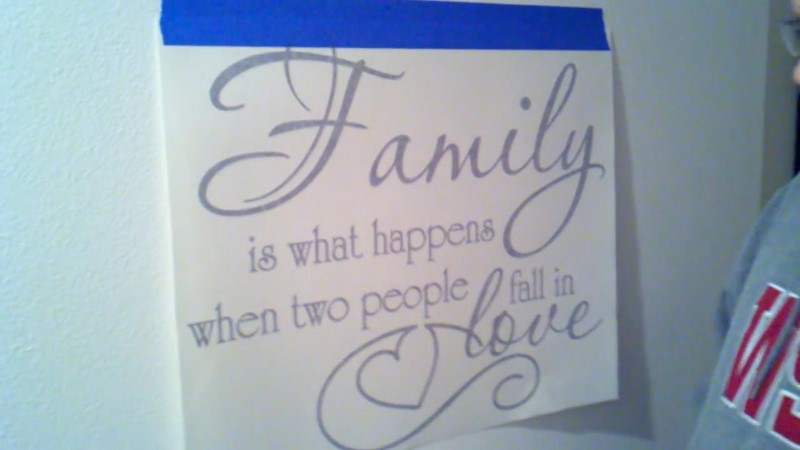
Step 2: Place the decal sheet on the wall, orientate it properly, and hold it in that position with a tape
The next thing to do is to place the decal sheet on the wall and adjust its placement until the decal sheet has the right orientation you’ll like it to have.
For instance, you may not want your decal sheet to be slanted like the one in the picture below.
Once you get your desired orientation, the next thing to do is to hold the decal sheet in that position with a tape, just like in the picture below.
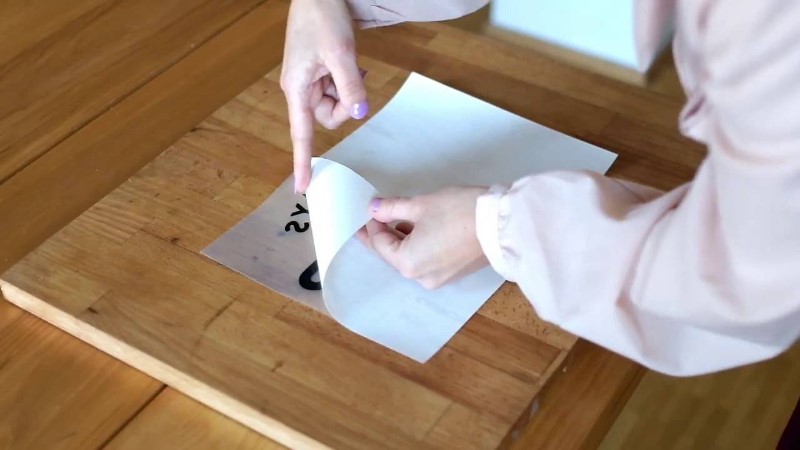
Step 3: Peel off the “backing paper” slowly, from the bottom left or right corner of the decal sheet
The next thing to do is to peel off “the backing paper” slowly, off the decal sheet, while the sheet is still on the wall. Do this from the bottom left or right corner of the sheet.
Peel the backing paper off completely and toss it aside.
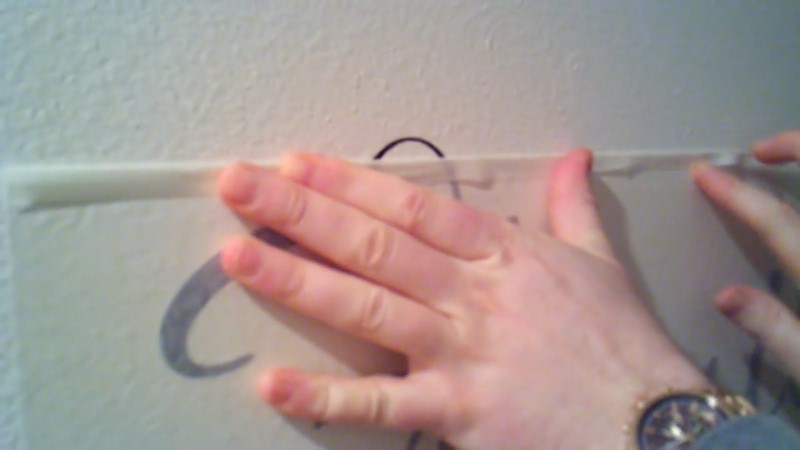
Step 4: Press the adhesive side [firmly, slowly, and smoothly] on the wall
At this point, the adhesive side of the transfer paper and the actual decal should be exposed. And what’s expected of you at this point, is to plaster the revealed adhesive side on the wall.
So, to do this plastering, gently and firmly press the adhesive side on the wall, starting from the top left corner. Ensure that you create a smooth plastering, which is actually why you’re are advised to take the plastering slowly.
Step 5: Use a wet cloth to dampen the surface of the transfer paper [optional]
The next thing to do is to peel off “the transfer paper” off the plastered decal sheet. But to make things easy, I’ll recommend first dampening the surface of the transfer paper, with water.
Being wet will make the transfer paper come off easily.
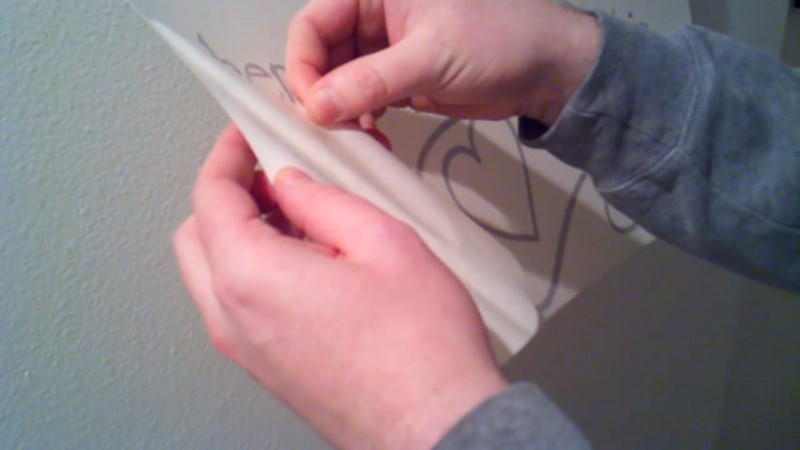
Step 6: Remove the transfer paper slowly, from the bottom left or right corner, now leaving just the decal
After you must have dampened the transfer paper, the next thing to do is to peel off the transfer paper gently.
Avoid peeling the paper off at angles between 45 and 90 degrees.
Doing so can cause the actual decal to also come off with the transfer paper — a thing you don’t want. You can instead consider a peeling angle of 180 degrees.
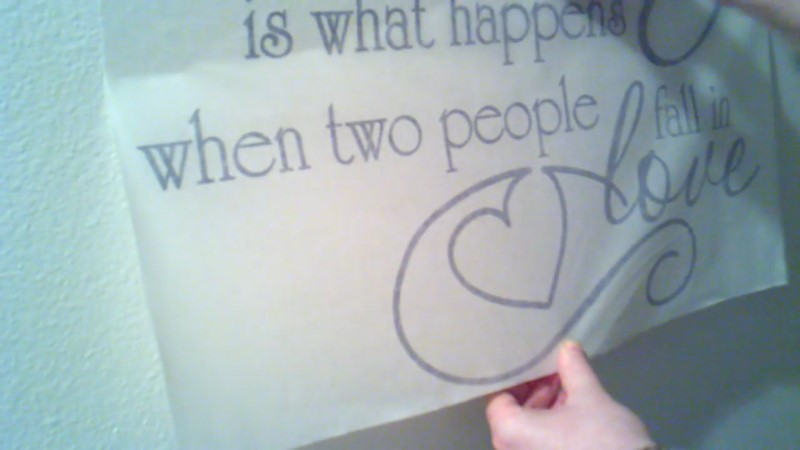
And if for any reason, a part of the actual decal starts coming off as well, plaster that part back, then press that part on the wall firmly again, for some seconds, before making another attempt to peel off the transfer paper again.
When you’re done with all the steps above, you should be left with a decal like the one below.

You should repeat the same steps for other Wall decals.
Final Words
Wall decals can be very effective in making your room brighter more aesthetically appealing. But if you don’t apply it correctly, it would not turn out well.
So when you’re about to brighten up your room, ensure that you apply the right techniques which is easy to do to achieve your desired result.
If this post helps, share your comments in below and don’t forget to explore our gallery of stunning wall decals.
